The frontend generator
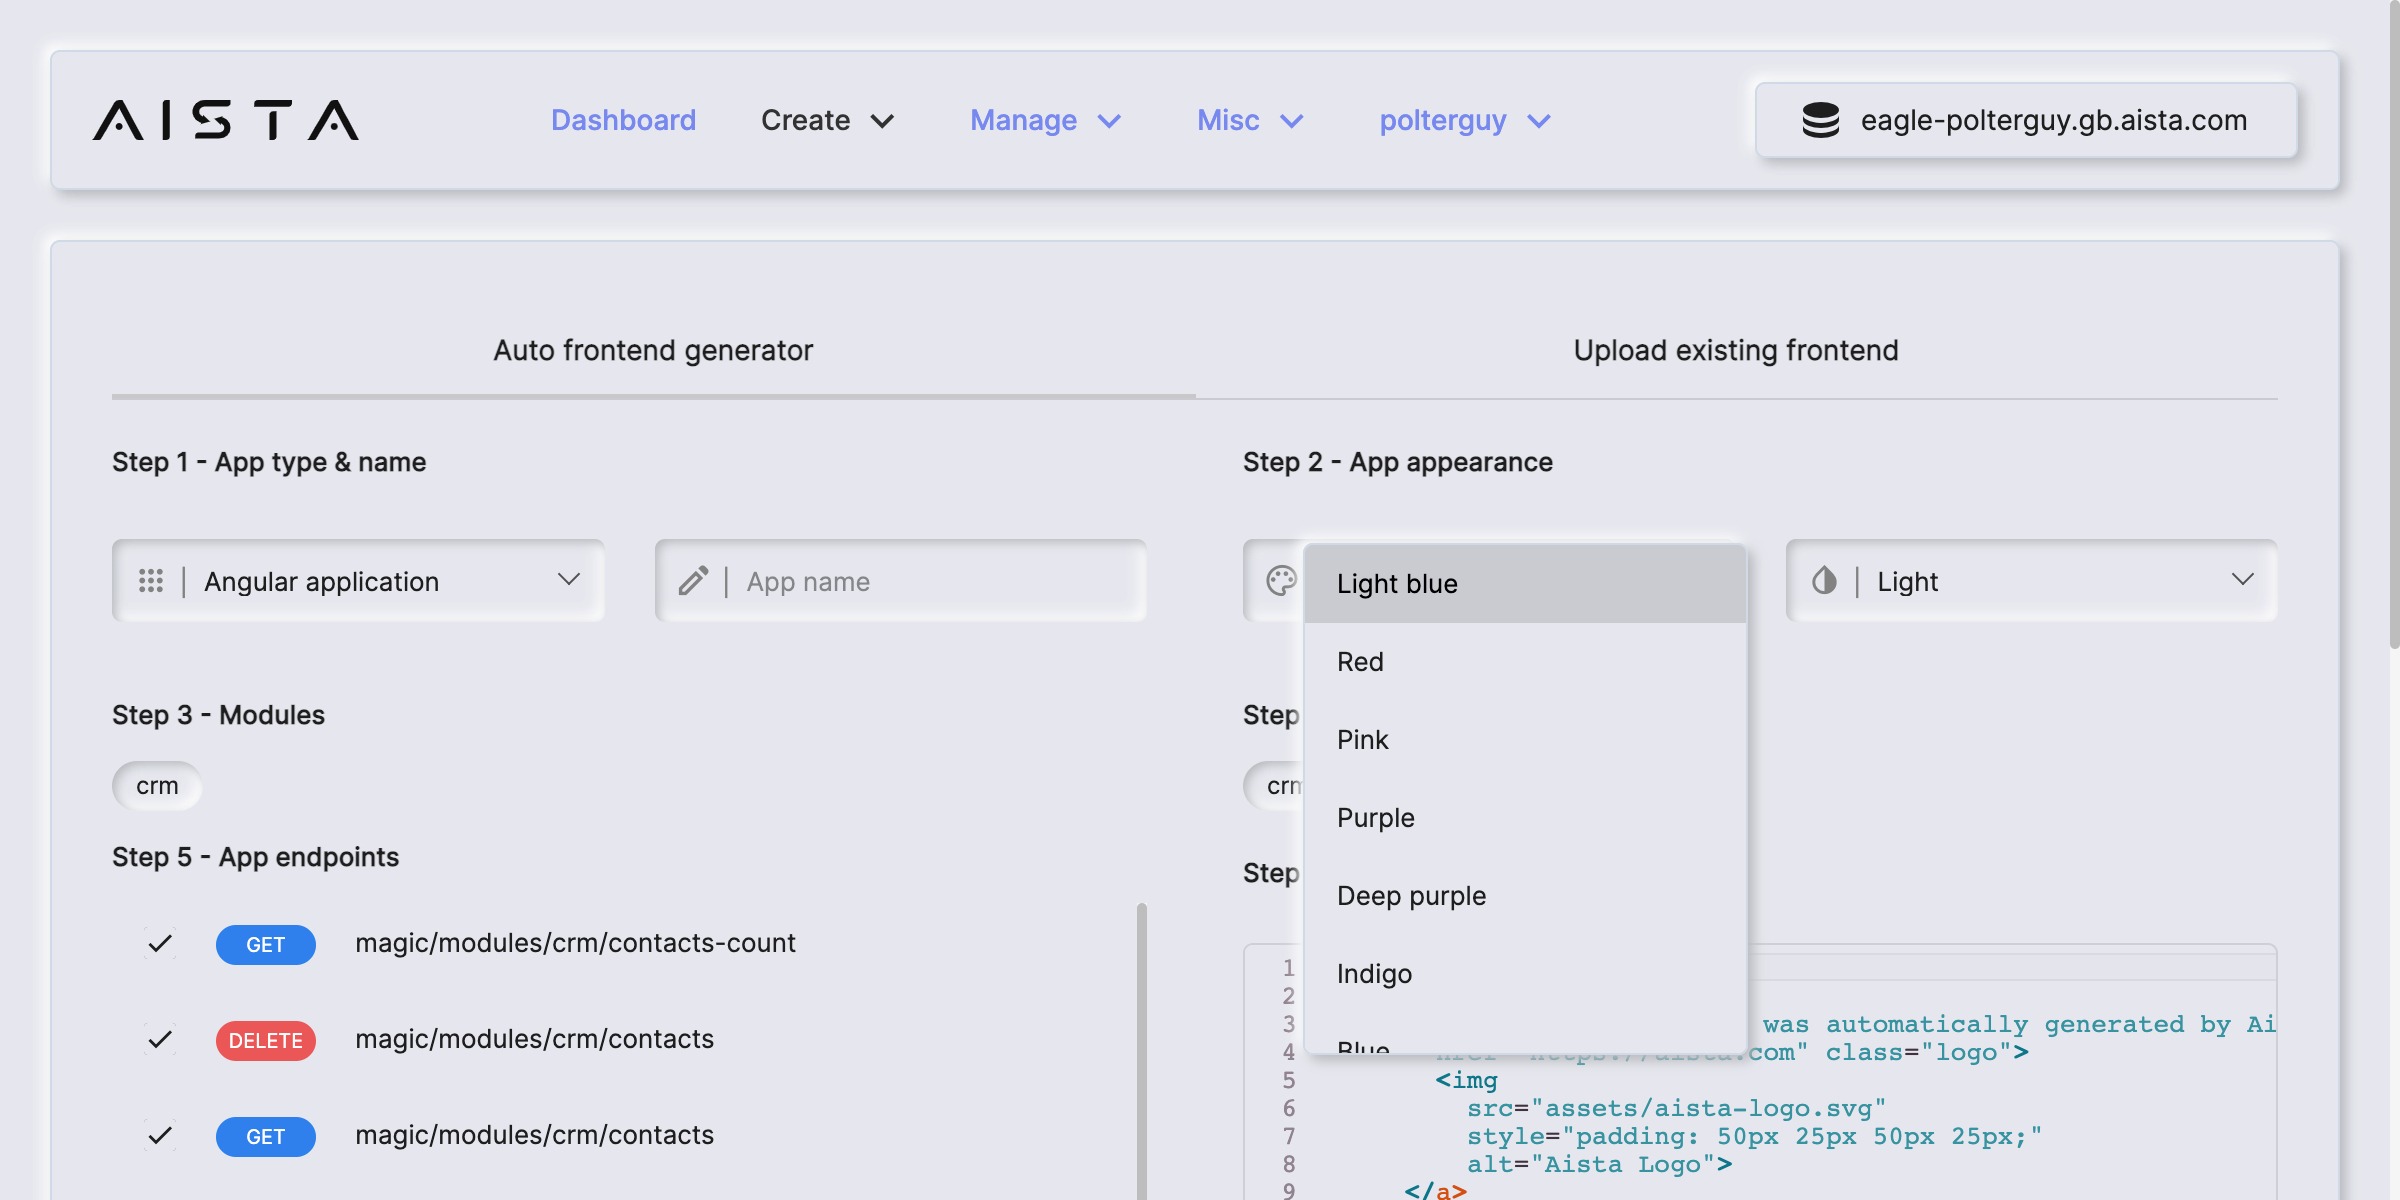
The frontend generator component allows you to automatically generate a frontend wrapping your previously generated backend created by the endpoint generator. The idea of the process is that it provides you with a starting place for your own frontend code, allowing you to modify the result of this operation as you see fit, to accommodate for whatever business requirements you might have.

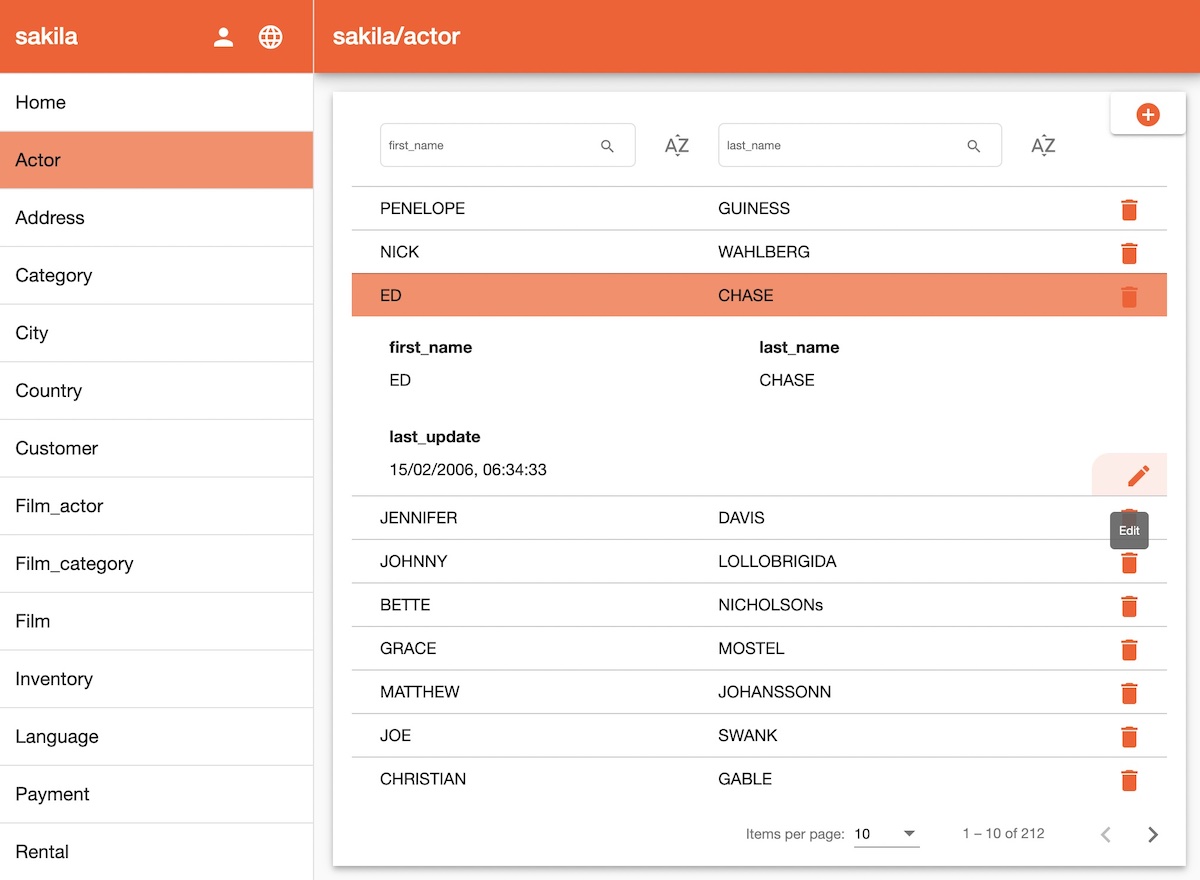
The frontend generator creates 100% “perfect” Angular code, implying following all Lint standards, and being very DRY and highly structured. The end result is a responsive CRUD web application, giving you all CRUD operations towards your database.

Your generated frontend will support filtering, paging, creating new database records, editing existing records, deleting records, in addition to localisation/translation and authorisation/authentication. To test your generated frontend locally, make sure you’ve got NodeJS and Angular installed, and write the following into a terminal prompt where your frontend was unzipped.
npm i
ng serve
Depending upon which template you choose you can also override settings for your end result, such as colours, themes, which modules and components to generate frontend components for, etc. What code is being generated depends upon your specific template, and Magic allows you to create your own templates too - However, the integrated Angular template(s) generates high quality code, following all TSLint standards, allowing you to easily understand and modify it as you see fit.
The generated frontend code
The default “angular” frontend template used by the frontend generator will create one Angular component for each related endpoint “group”, typically implying one table and its associated CRUD endpoints. This implies you’ll get one navbar menu item for each table in your database, with a modal dialogue for editing and creating new items. The frontend will only display UI elements for CRUD verbs that the user actually have access to invoke, implying if a user is not authorised to delete items from a table, no delete button will be displayed for that user. If a user does not have access to read items from a table, no navbar menu item will be displayed to that user. This results in that different users might see different components, depending upon which role(s) they belong to, and which role(s) are allowed to invoke the endpoints the frontend component is actually wrapping.
In addition, the generated frontend will also require users to authenticate before they can access the application, and it also allows you to localise and translate text snippets for buttons, checkboxes, etc. You can also select what theme you want your frontend to be generated with, implying colours, and whether ot not you want to generated an inverted or “dark” theme or not.
Frontend modules and components
When you use the frontend generator to create your frontend, you’ll have to choose which modules and components you want to include. One module is typically one database, while one component is typically one table in your database. You can generate a frontend for as many or as few tables and databases as you wish. You can even combine multiple database types into the same frontend, giving you one frontend to manage records in both MySQL, PostgreSQL and SQL Server.
The frontend doesn’t care about what database type you’ve wrapped, since it’s generated on top of your backend, and have no idea what the underlying database is. And in fact, in theory you can generate a frontend without even having a database at all, since the way the frontend generator works, is by reading meta data from your backend, implying if you can somehow generate the same meta data for your endpoints and implement your endpoints such that they’re wrapping something else than a database, you can still use the frontend generator to generate a frontend wrapping your backend.
CI/CD on your generated frontend
The generated frontend will also be responsive and perfectly display on for instance your phone, tablet,
or anything really that’s capable of displaying HTML. In addition, the frontend generator will also
automatically generate a GitHub workflow YAML pipeline file for you, implying if you push your frontend
project to GitHub, it will immediately start building the project, and deploy it to your cloudlet into
its “/etc/www/” folder. This requires that you’ve generated a token on your Magic cloudlet, and stored
this as a TOKEN secret in your GitHub project.
